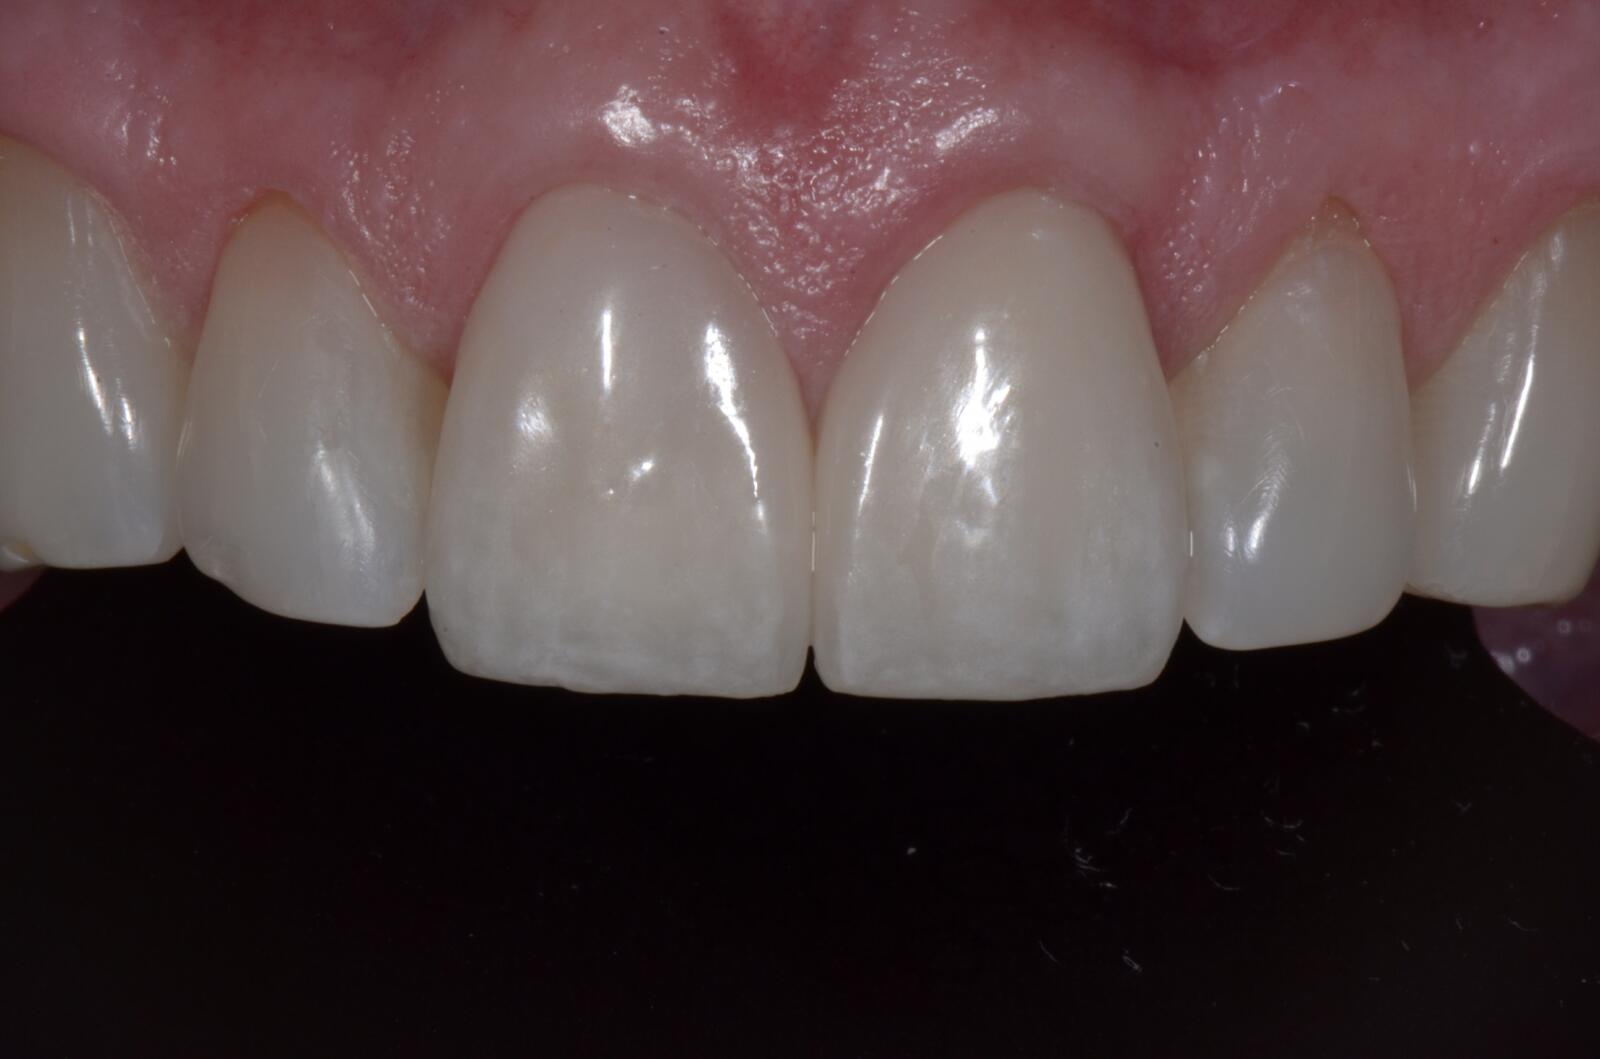
How to Cement a Crown in Under 20 Minutes
Here is how to cement a crown in 20 minutes or less every single time. Now, a lot of you may be doing this, but I’m not so sure you are because my first 17 years in practice, I didn’t know if it was going to take 15 minutes to cement a crown or 30 to 40 minutes, because of all the unpredictability. So here’s a few tips for you to make this happen every single time.
Step 1: Look at the Length and Build
Number one, make sure your preps are ideal. And by that I mean, if it needs crown lengthening, get crown lengthening. If it needs a build-up, get a build-up. If it needs enough reduction, do it. When you’re done, smooth off all the sharp line angles, polish the prep with rubber wheels if necessary. Make it as easy for your technician as possible.
Step 2: Take Full Arch Impressions and a Face Bow
Second, take full arch impressions. I know we can take triple trays. I get it. But do you want to cement your crowns in 20 minutes or less every single time? Take a full arch impression. I was a lab owner in addition. I had owned a lab for seven or eight years and sold it, but I saw everyone’s work. Full arch impressions. Take a face-bow. Why? You record the hinge access. That helps the technician get the arc of rotation and the occlusion very close, without any help. And fourth, make sure your technician pours a solid model in addition to the models that he’s going to remove. You want to get the interproximal contacts perfect in the lab.
Step 3: Pick Material
So now the day comes to cement your crown, what else could go wrong? Well, what about your temporary? Make sure your temporary is formed really well to the tooth. Make sure it has good interproximal contacts, make sure it has a centric contact, and make sure it stays on. So I started cementing my temporaries with Tylok or polycarboxylate cement. Yep, it’s an old permanent cement. But it’s also really easy cement to remove the temporaries with, clean it off with a Cavitron. Every now and then, they need anesthetic, but we can still get them numb and get this done.
Step 4: Hand Off to The Lab
If you do those things and do them properly, it gives your technician what they need, and communicate clearly. You can cement your crowns every single time in 20 minutes or less, because they’re going to come back and they’re going to fit the model. The preps are not irregular and without sharp edges. If it needed a build-up, do a build-up. It’s going to come back with good interproximal contacts. You’re not going to be turning it upside-down and drilling underneath and seeing if that’s the problem. You’re not going to be taking Moore’s disc and reshaping it. Communication with your lab and execution is how to do this.
Learn to Effectively Communicate with the Lab & Achieve Predictability
The course, Achieving Predictable Esthetic Results, gives you the tools and knowledge to plan beautiful, functional and predictable esthetics, communicate with your lab (and specialists) effectively so you get a great result the first time, and more! Enroll in the live course or online version today!


Leave a Reply
Want to join the discussion?Feel free to contribute!