- Office Hours Mon - Fri 9:00 am – 4:00 pm EST
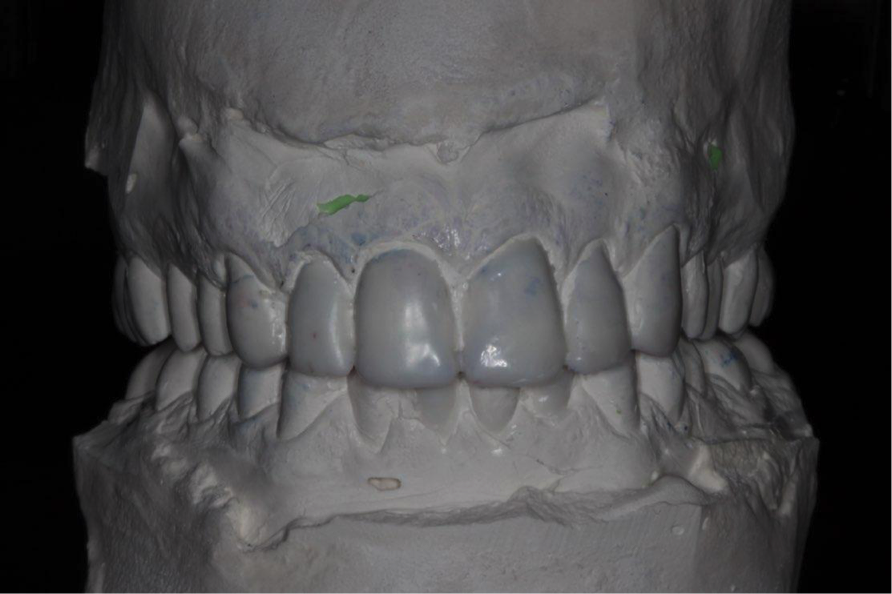
 The temporary phase is the third phase in our treatment plan. At this point we’ve had the patient come in, and given them complete exam on that patient. Then we’ve taken the records we have our 2D treatment planning session, and then the 3D portion is the wax-up of that patient. During the 3D treatment planning, we are looking to find out where we want the incisal edges. We are looking at where we want the anterior guidance, and the vertical dimension. Those are the things that we work out using the 2D checklist and 3D checklist.
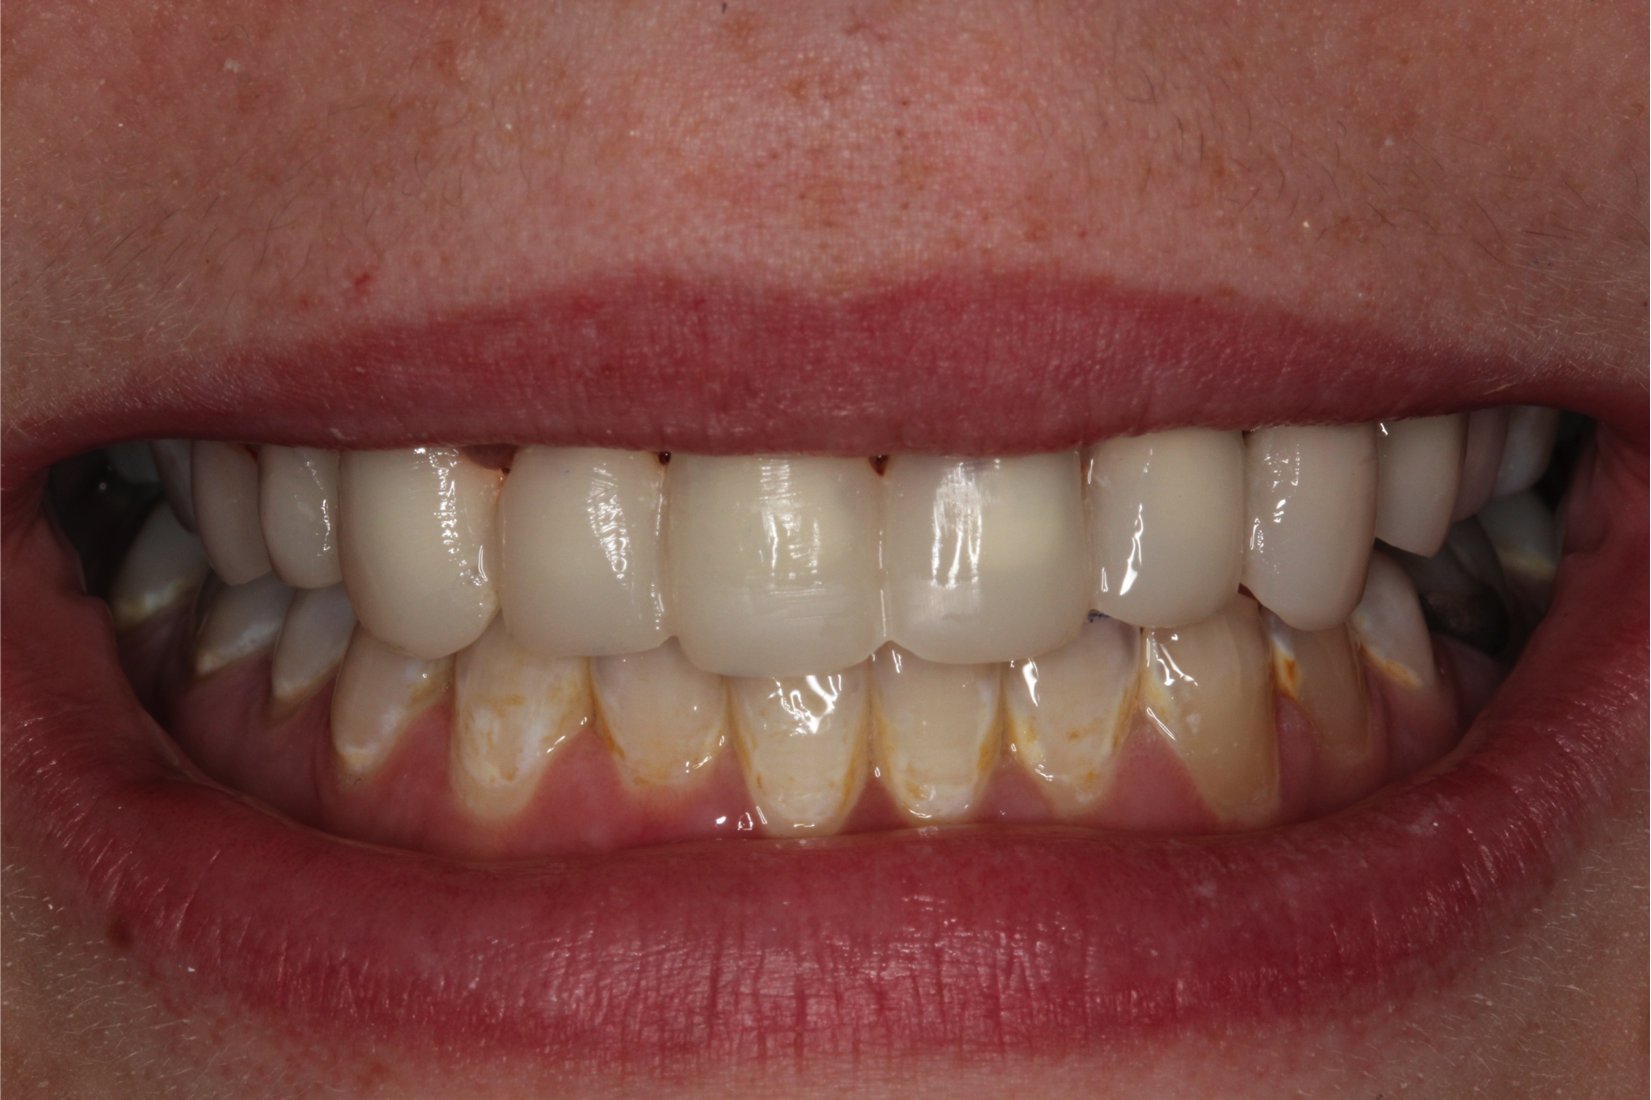
 When we get to the temporaries, we essentially have a series of stents or the models that we use to actually transpose those wax models into the mouth. Once we are here, it is a very easy scenario because we’ve done our 2D and 3D, so we know where everything needs to be placed and shaped. We are going to go through our checklist for temporaries and make sure we have all of the following protocols from the 10-step checklist for the provisionals, including:
The construction of the temporaries is not just, “Hey, let’s put some temporary material in and shape up a tooth like we think we want it.” We go through the whole series of a complete exam, 2D checklist, and 3D checklist to get to that provisional state. Then, the patient can wear those for a period of time and we approve them. We need to take impressions and photos to send to the lab. After all those phases are complete, the lab sends back absolutely exquisite restorations with spot-on incisal edges and a stable occlusion.
ADA CERP is a service of the American Dental Association to assist dental professionals in identifying quality providers of continuing dental education. ADA CERP does not approve or endorse individual courses or instructors, nor does it imply acceptance of credit hours by boards of dentistry.
Concerns or complaints about a CE provider may be directed to the provider or to the Commission for Continuing Education Provider Recognition at ADA.org/CERP.