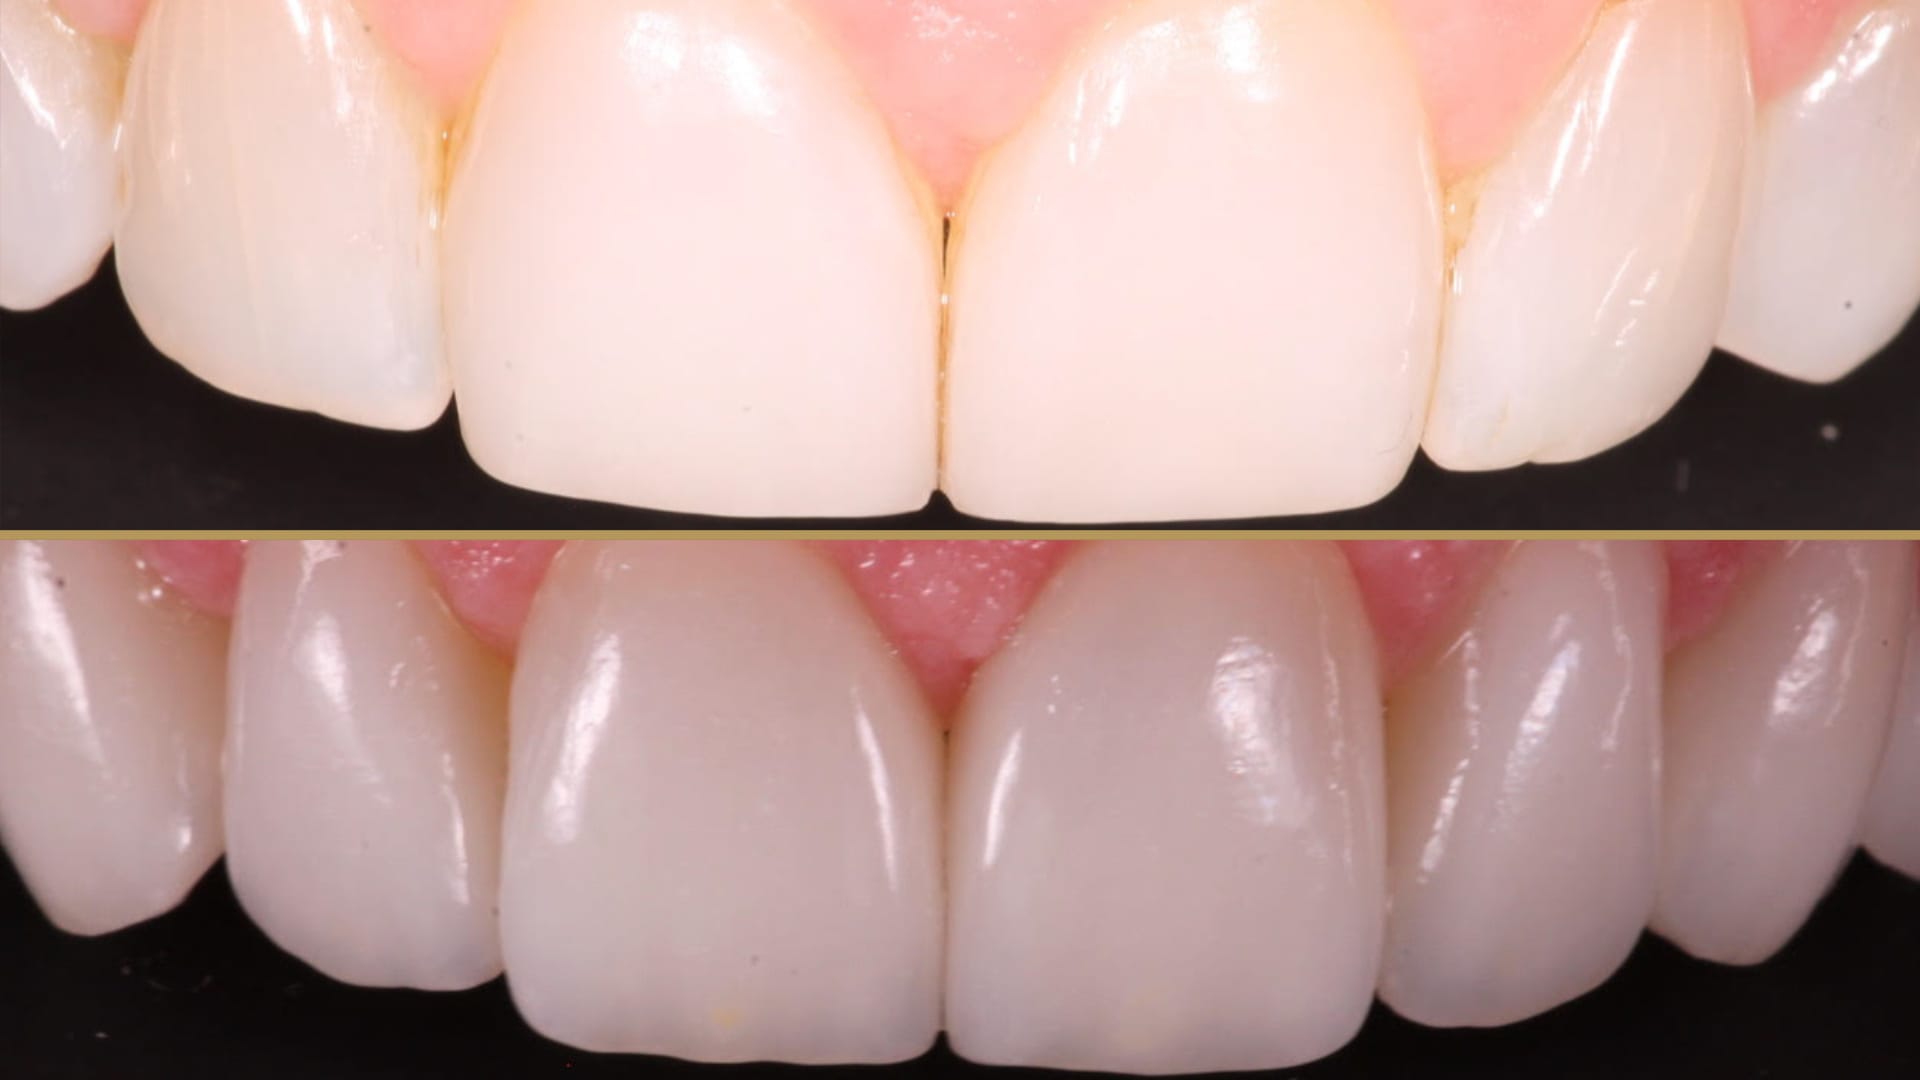
2 Errors to Avoid for High Quality Digital Photography
Digital photography is one of the most important tools you could have in your toolbelt for aesthetic dentistry. If you think about it, an esthetic case starts with a photo and it ends with a photo. But are you taking the proper photos to showcase your work in the best light? There are two common errors that I see with dental photography. First, the picture might be blurry and second, it might be overexposed or washed out.
Error #1: Blurriness
So the first, with it being blurry, when we think of the settings on a camera, if we’re taking a portrait photo we want the F stop to be in a range of 5.6 to 9. This allows us to step back from the patient, five to eight feet, and take a full face photo. But as we come into the patient and we’re going to take an intra-oral photo, we need to close down that F stop to about a 22 to a 32. Now, from that standpoint, this allows a greater depth of field so that the anterior teeth as well as the posterior teeth are all in focus.
Error #2: Overexposure
The other aspect is let’s say it’s overexposed or it’s too bright, this could be an ambient light issue where there’s too much light in the room. Or you’re trying to take a picture outside and it’s too sunny. Or it could be that the flash itself is just set too high and it needs turning down a little bit. So the real question is if you’re going to have this digital photography in your office, are you showcasing it in your best light?
Learn more about taking optimal photos in Examination and Records. Learn More Here!


Leave a Reply
Want to join the discussion?Feel free to contribute!